Kyria
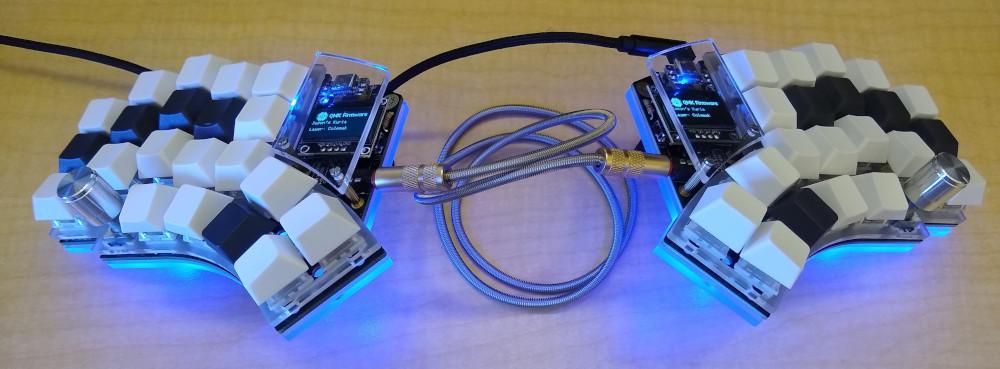
I’ve really gone down the keyboard rabbit hole in the last year or so. I love my Keyboardio Atreus, but for a while I’ve wanted a split keyboard that would allow me to keep my arms at shoulder width while typing. Back in November I funded the Keyboardio Model 100 on Indiegogo, but come January I started to think that building my own keyboard would be more fun than buying something pre-made. Eventually I cancelled my Model 100 order and instead bought all the parts to build a Kyria. (I’d still love to get a Model 100 someday, but I figure I shouldn’t buy multiple $300-400 keyboards at a time…)
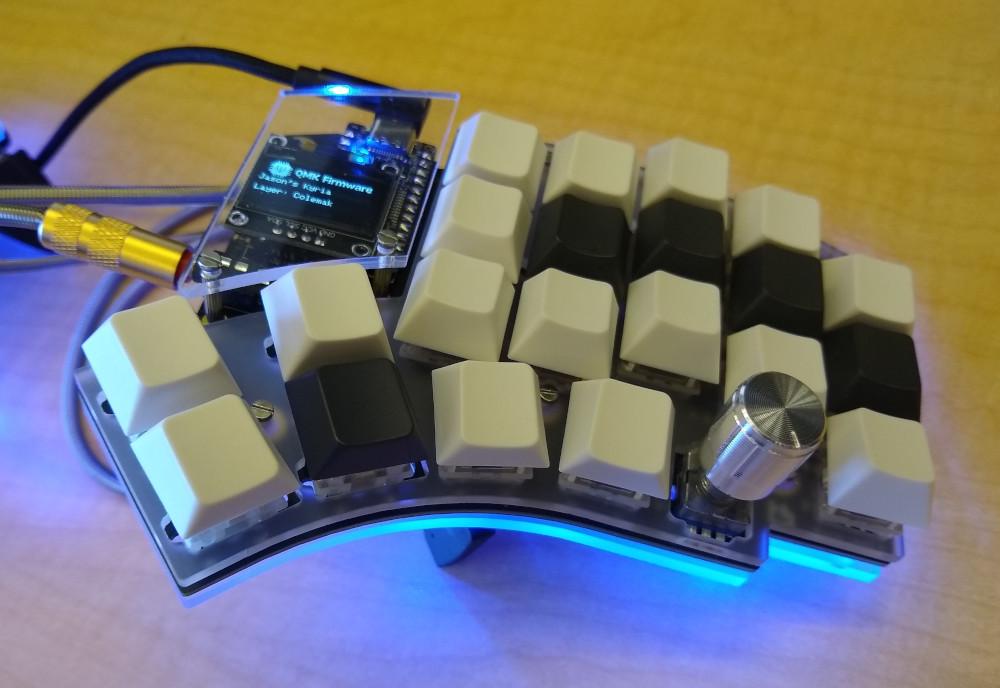
I went all out on my Kyria build – socketed microcontrollers, two OLED displays, underglow LEDs, hot-swap switches, rotary encoders, tilting/tenting tripods – and paid about $435 for everything ($85 of that was a soldering iron and tools for assembly).
Building the keyboard
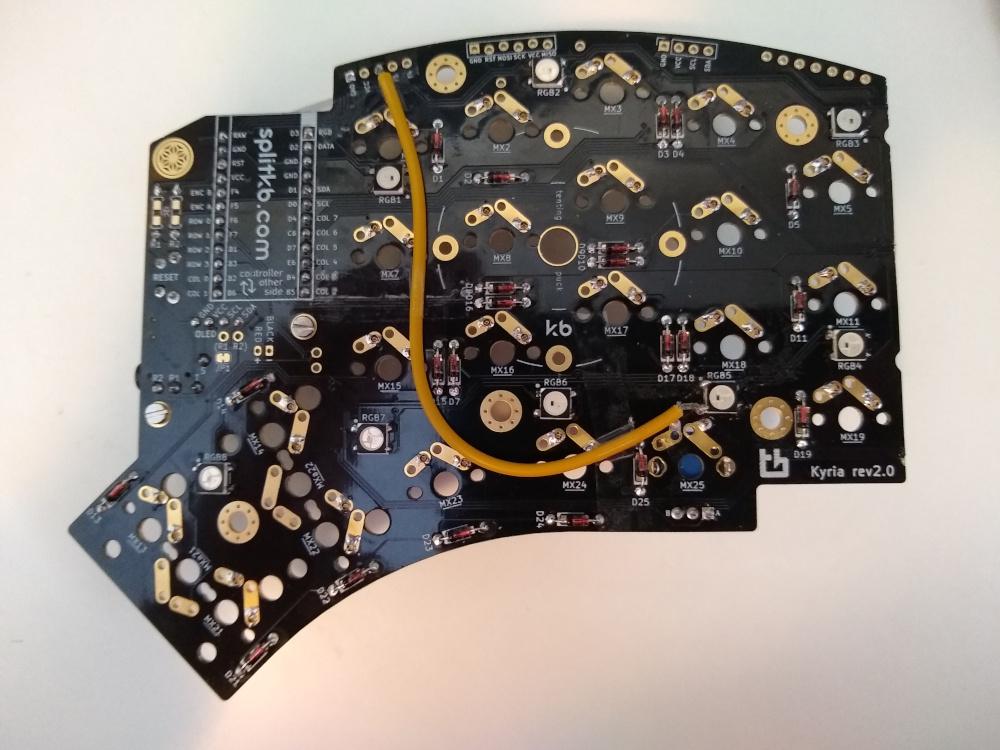
The build process was fun! Soldering turned out to be pretty easy, at least for all the through-hole components. The LEDs are surface mounted, though, and I had a tough time getting them soldered onto their tiny pads.1 I’ve already re-soldered individual LEDs several times to get them all working, and in the process I accidentally broke one of the solder pads off the PCB and had to run a wire to make the necessary connection. I can live with bad LED connections, though – they’re not really a necessity, after all.
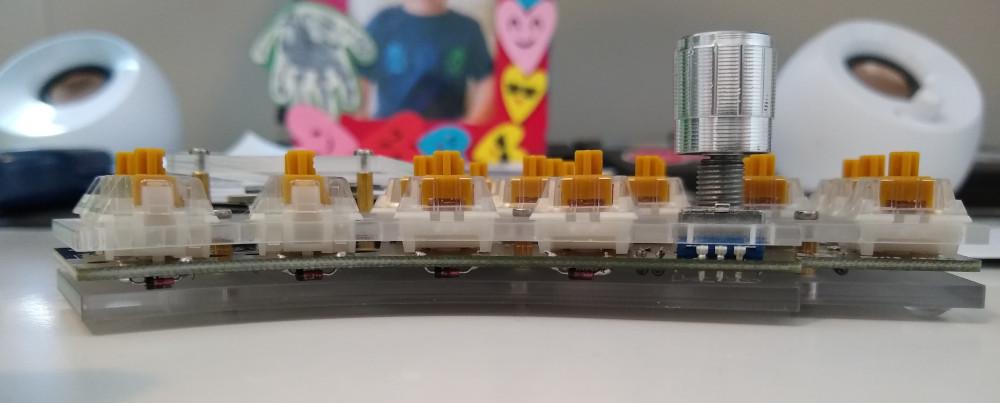
My only real gripe with the whole kit is that the acrylic plate case I bought doesn’t entirely secure the PCB. The case has spacers that go through holes in the PCB, but the PCB isn’t actually attached to the spacers, so it can move vertically within the case and bump into both the top and bottom plates. I suspect that this movement is part of the reason the LED connections keep going out on me (the other part being my poor soldering skills). I’ve since put some washers around the spacers (four M4x8 washers on each side of each spacer) to force the PCB to stay put vertically, though, and it feels much more solid.
I definitely would have gotten a better keyboard at a better price had I stuck with my Model 100 order, but the fun of building my own was worth the trade-offs.
Using the keyboard
So far I’m enjoying using the Kyria as well. The thumb keys and the pinky column stagger of it fit my hands better than the Atreus does, although the difference does take some getting used to. Being able to spread out the two sides of the keyboard and tent them is nice as well, but I’m still working on figuring out a way to rest my palms on something when the keyboard is tented.
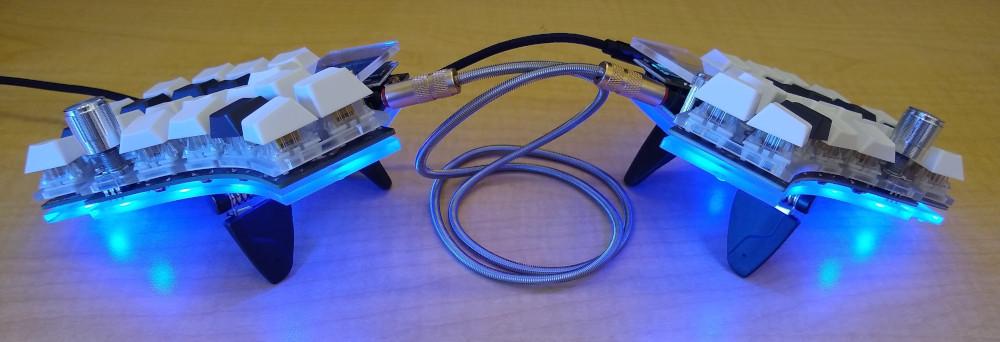
The rotary encoders, displays, and underglow LEDs are all fun to have but not terribly useful in a practical sense. I currently use one rotary encoder for volume control and the other to control the color of the LEDs. The displays show me what layer of the keyboard I’m using and whether I have caps lock on. And the LEDs just make things look pretty :)
More to come
Even just a few days into using my Kyria, I’ve already started thinking of ways to improve and modify it. I’m excited to keep going deeper down the rabbit hole!
I did order rev2.0 of the PCB, and before it shipped the folks at splitkb.com let me know that they had made a few mistakes, including making the solder pads for the LEDs too small, in that revision. They gave me the option to wait for rev2.1 instead, but I opted to take my chances rather than wait an extra month and a half to get the kit. So the LED issues are sort of on me and my lack of patience. ↩︎