Adjustable closet shelves
The closet in my kids’ room has long been in need of organizational improvements. Previously, it had a only single wire shelf near the top. We wanted to fit more in the same space, so I built some shelves. They’re adjustable using the little metal pegs that fit in holes along the side to support each shelf.

The closet is a bit awkward because the doorway is almost three feet narrower than the actual closet, leaving a lot of space on the sides that’s hard to reach if you put things in the middle. After playing with several ideas my wife and I decided to maximize the space by putting shelves in those side areas and another set of shelves in the middle. We’ll eventually install a rod in the top of the closet (which also goes a solid foot or so above the door opening) for hanging the kids’ clothes, too.
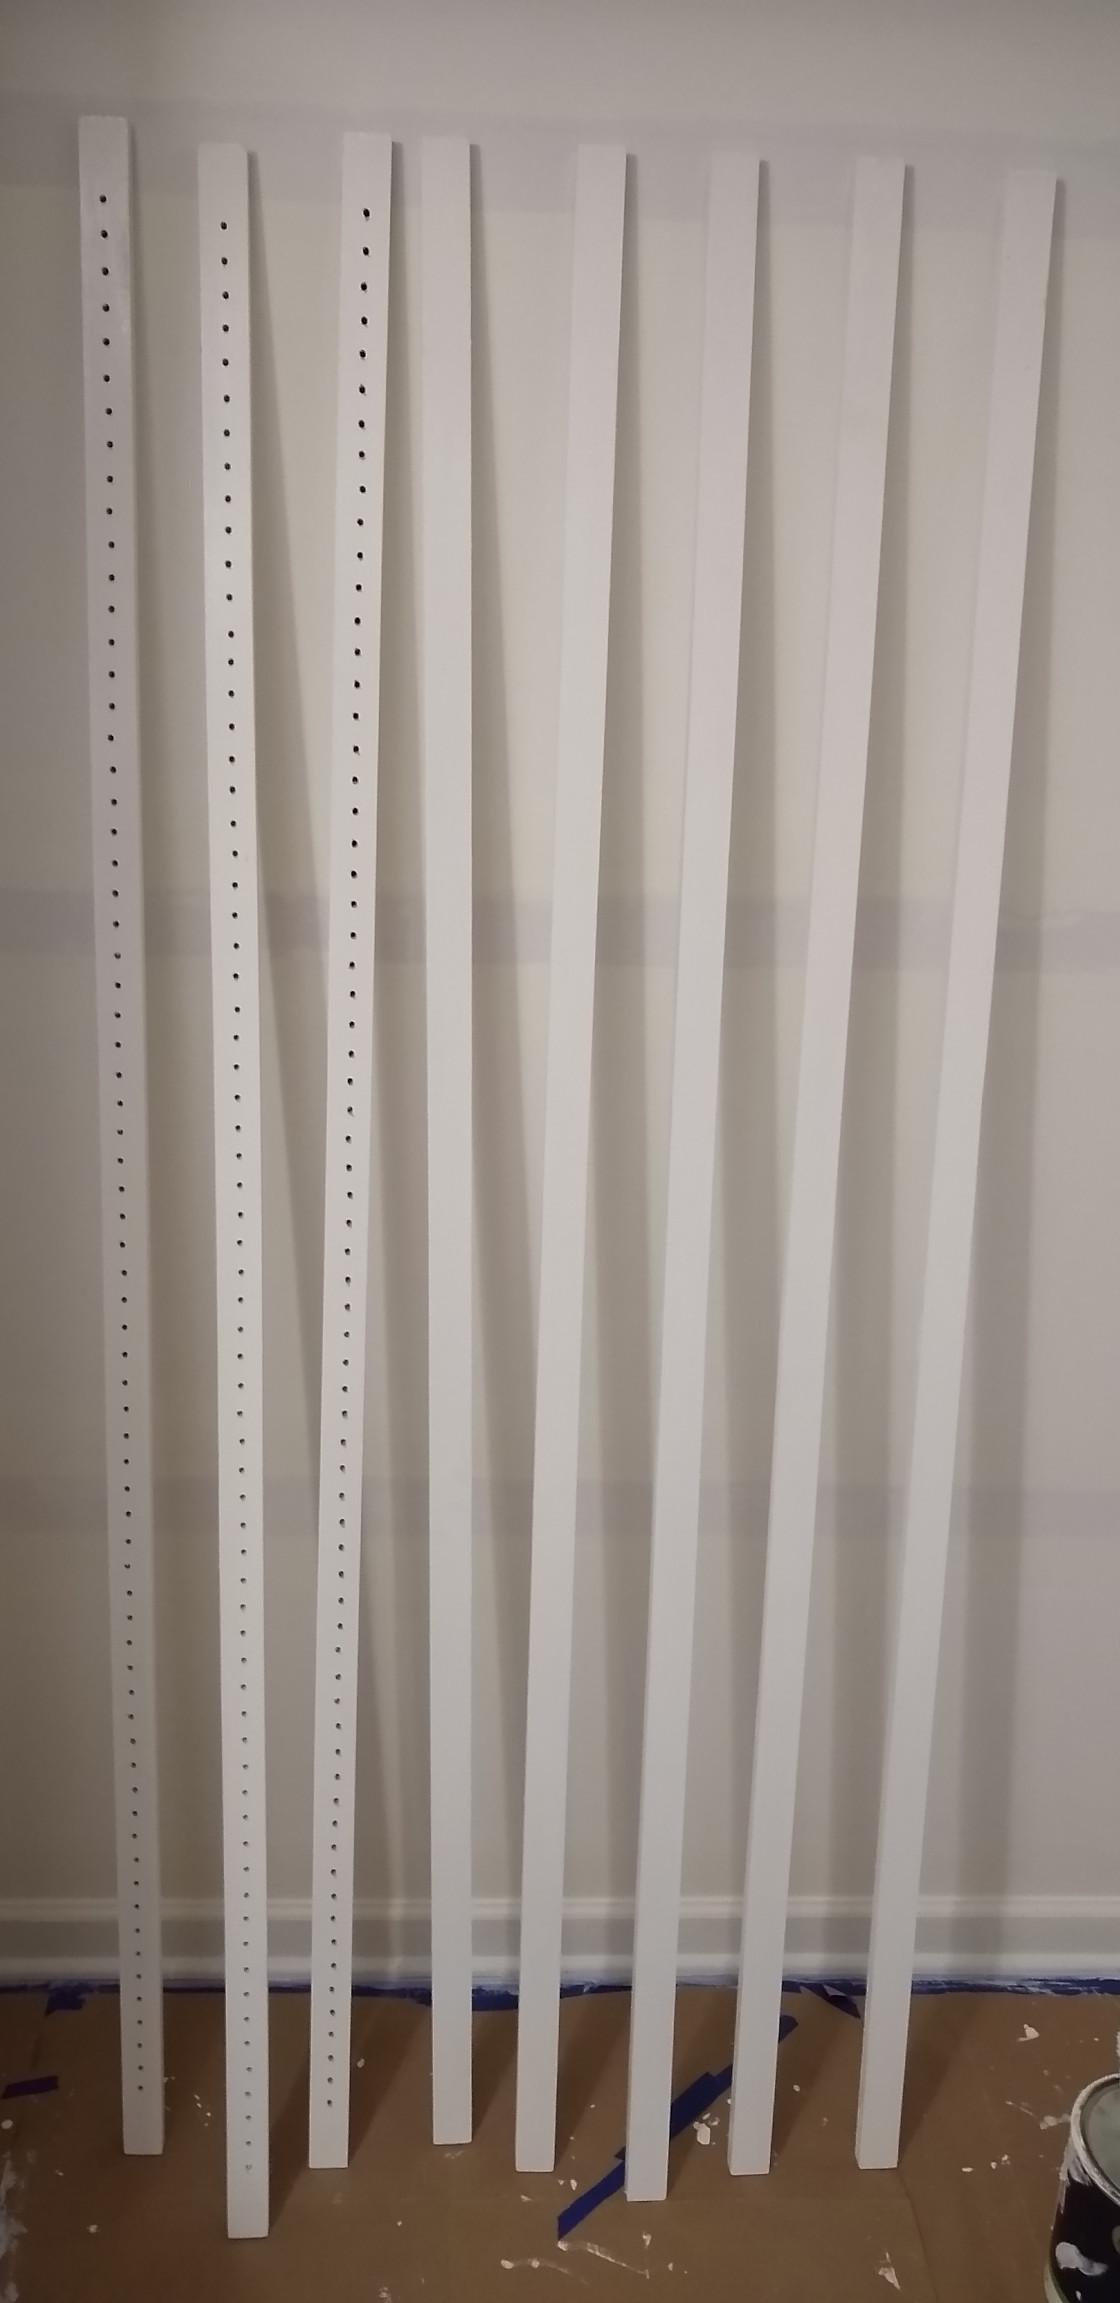
The project was fairly straightforward but still a lot of work. First there was the planning stage, which required figuring out precise measurements so that everything would fit together well. Then I had to cut, sand, and paint (two coats!) all the wood. Once I started installing things, I discovered that I’d forgotten to account for the pegs in my measurements and had to trim some of the shelves down a bit to make them fit.
Making the shelves adjustable required drilling a lot of holes. Each of the sides need four supports with almost six-feet worth of one-inch-spaced holes: over 500 holes! The shelves in the middle also required another 200+ holes. This process was made tricker by the fact that I bought pegs designed for 5 millimeter holes but then couldn’t find any metric drill bits at the store; I settled for using a slightly smaller imperial-sized bit and wiggling it around to make the holes a tad larger.

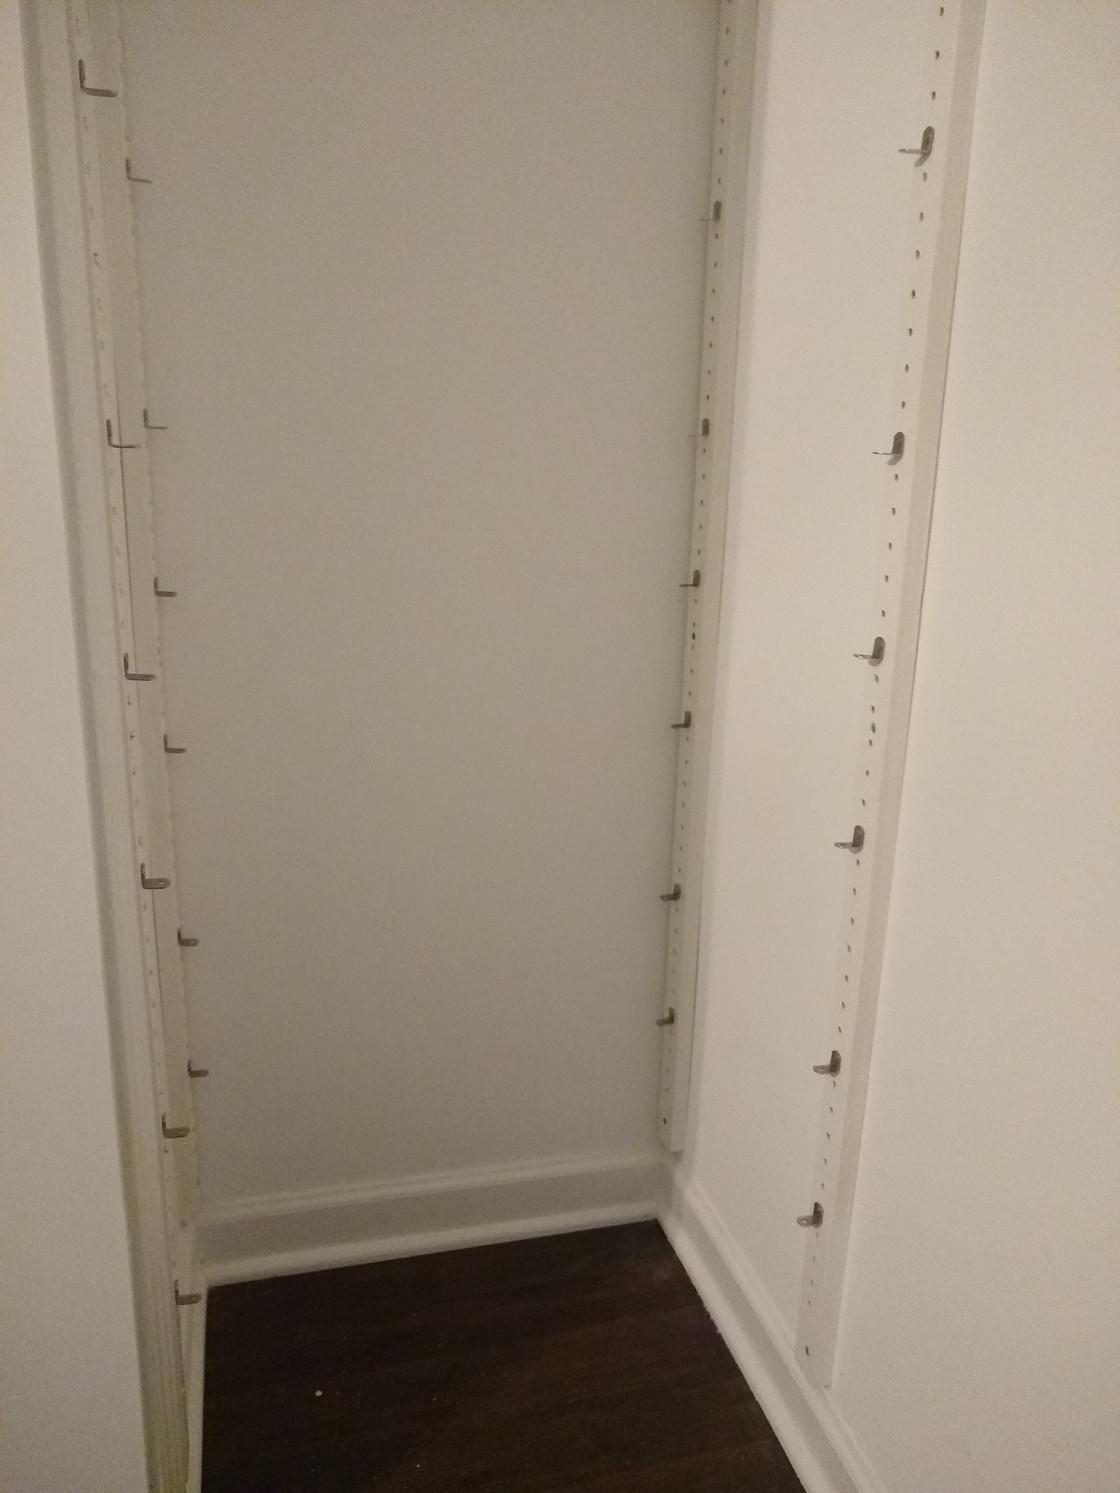
Attaching the supports for the side shelves was simple enough; the only potentially tricky part was making sure they were all the same distance from the floor so that the shelves would sit level on the peg. I did an imperfect but good enough job.

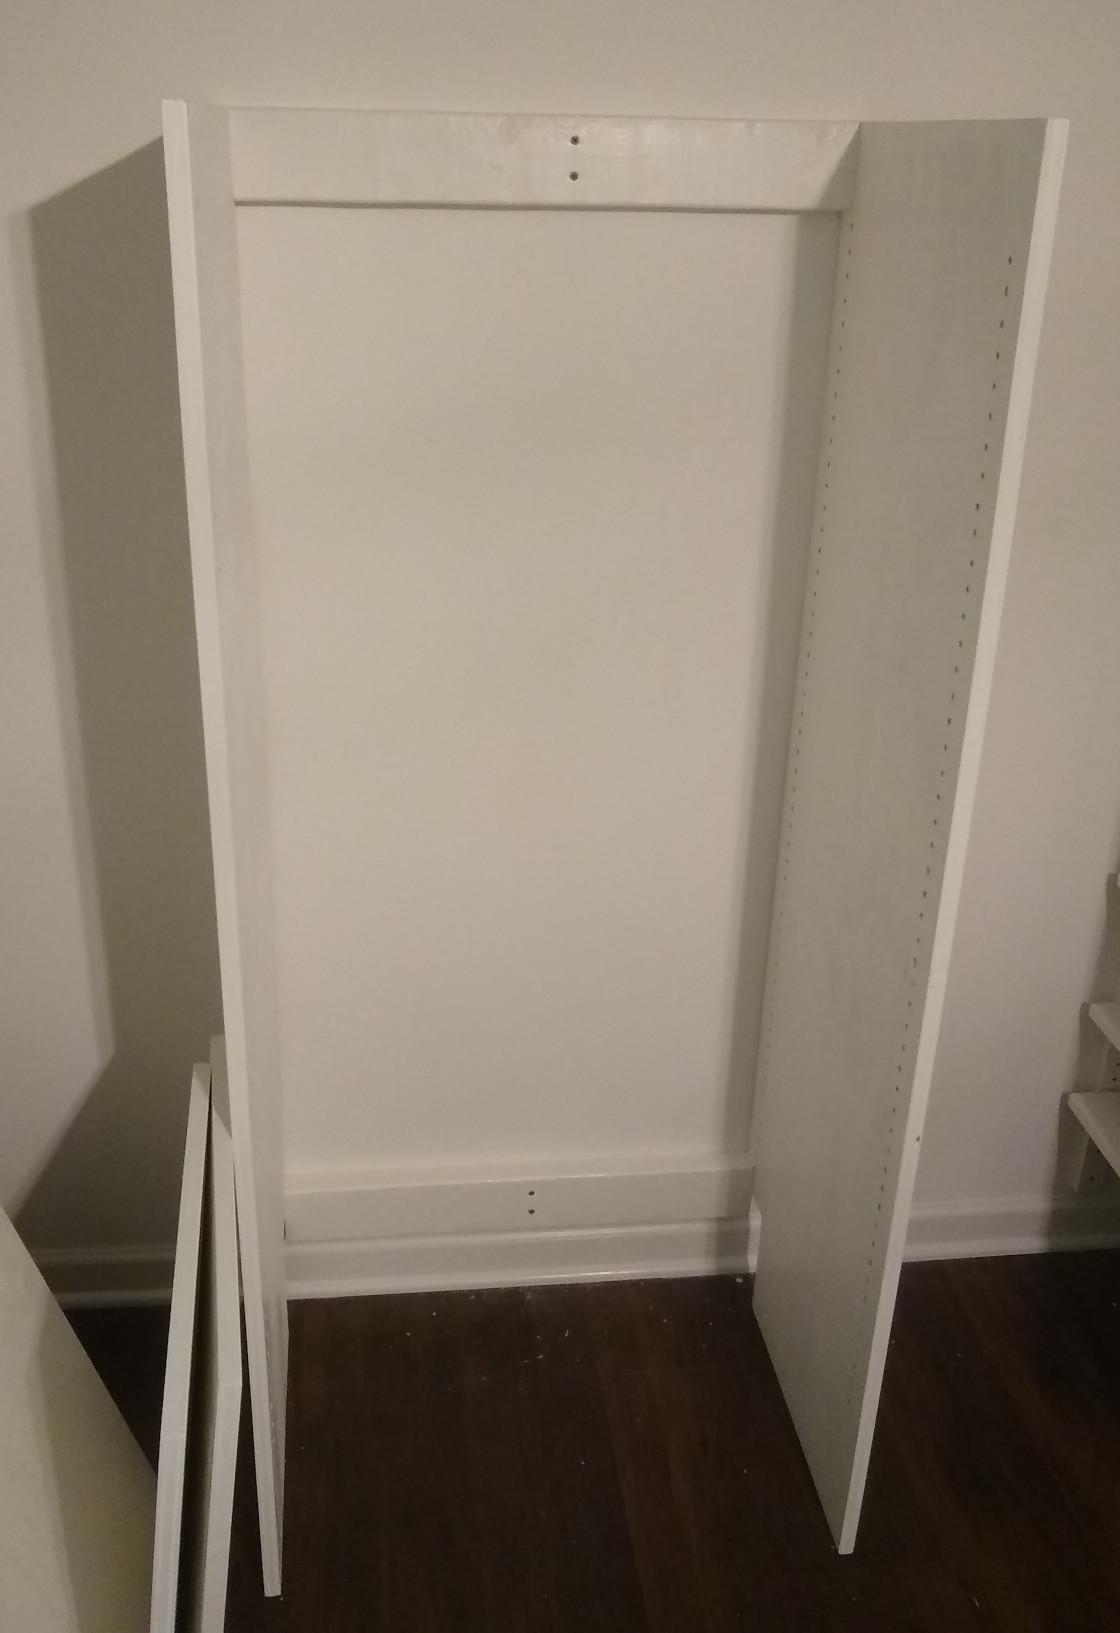
The middle shelves have solid plywood pieces on either side to support the actual shelves. These plywood pieces are attached to a pair of 2x4s that run horizontally along the wall to ensure that I could mount to a stud. I contemplated adding a third 2x4 in the middle but decided against it to avoid getting in the way of the actual shelves.

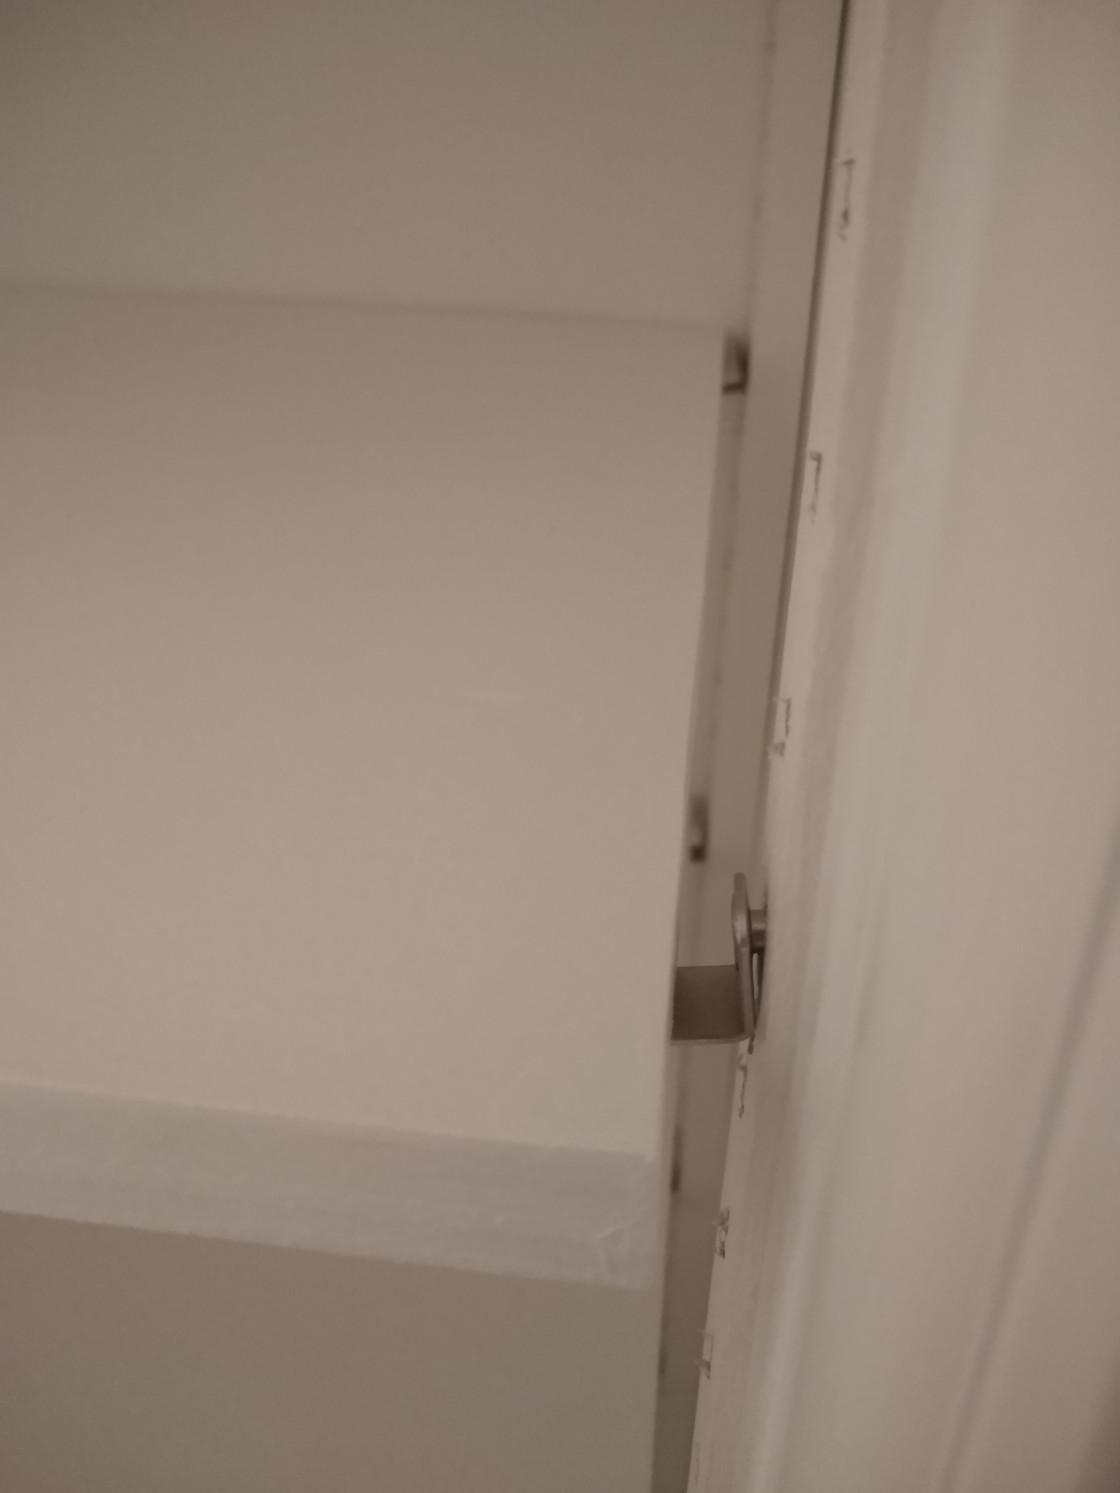
The one regret I have from this project is trimming a bit too much off of the shelves to get them to fit onto the pegs. The first few that I cut were a little too long, and I guess I over-corrected after that. Some of the pegs look a bit precarious, but they seem to be working anyway.

Overall, the shelves are a big success. With the help of some plastic bins, we’re now able to fit much more into the closet in a much more organized fashion – hooray!